
Pre-requisite : you need to have windows operating system installed in your computer because this is desktop application and currently only windows version is available for purchase (mac version coming soon)
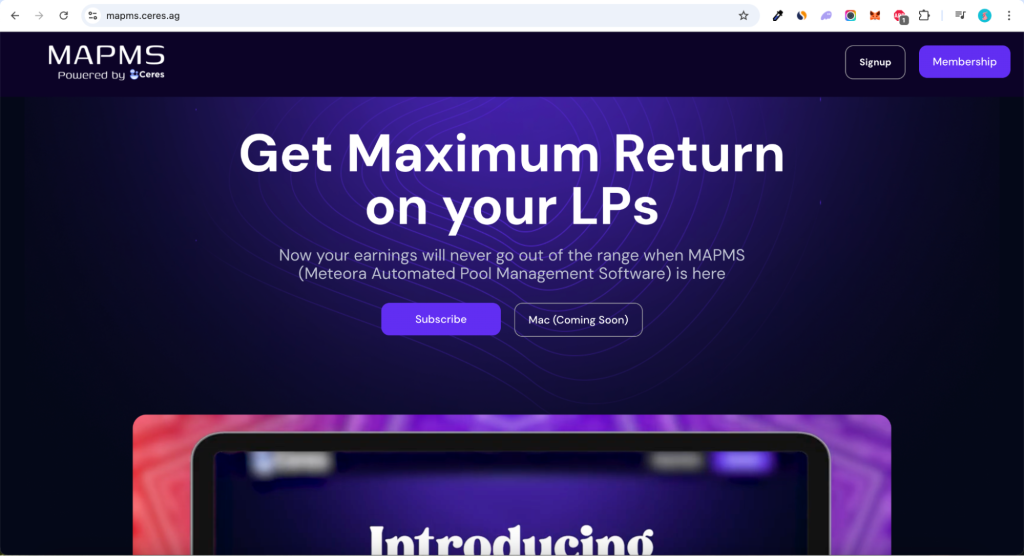
Go to https://mapms.ceres.ag/ click on subscribe button if you have not purchased the software yet. If you have already purchased it, click on membership button
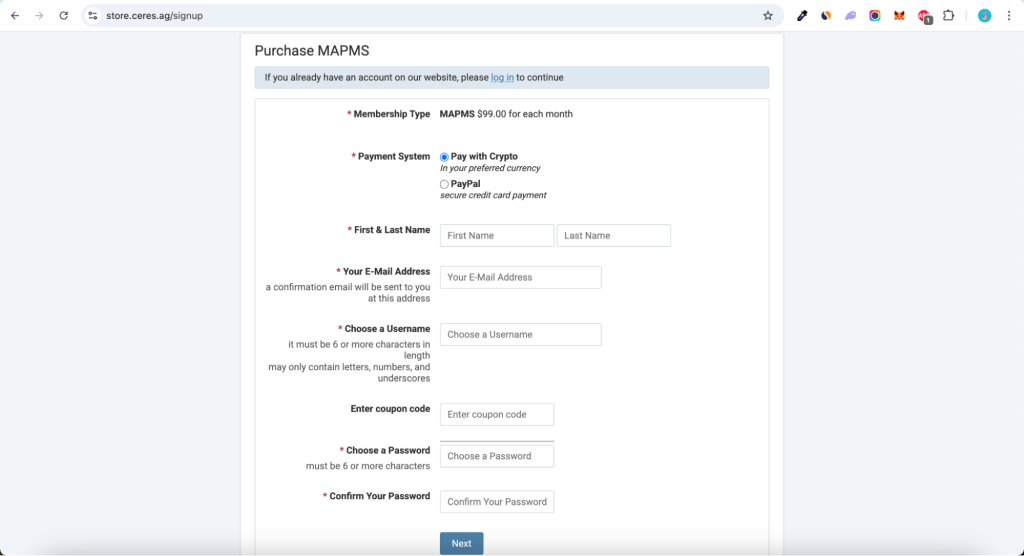
As you come to the payment page (shown below), you need to enter some details like name, email, password, etc. and you can choose either pay with crypto or paypal as per your preference and make payment to complete the purchase.
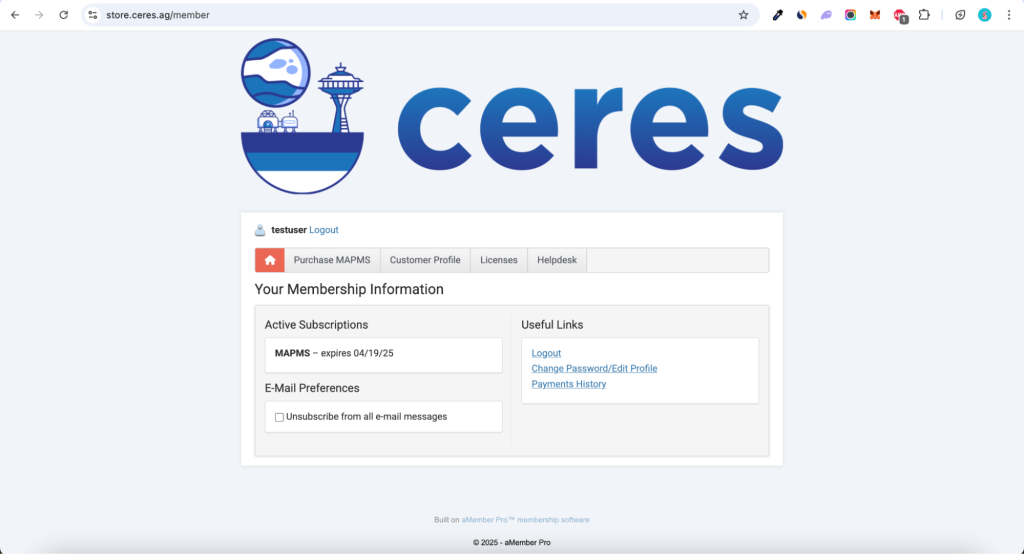
As you complete the payment, you will come to the home page (shown below). Now, click on Licenses tab
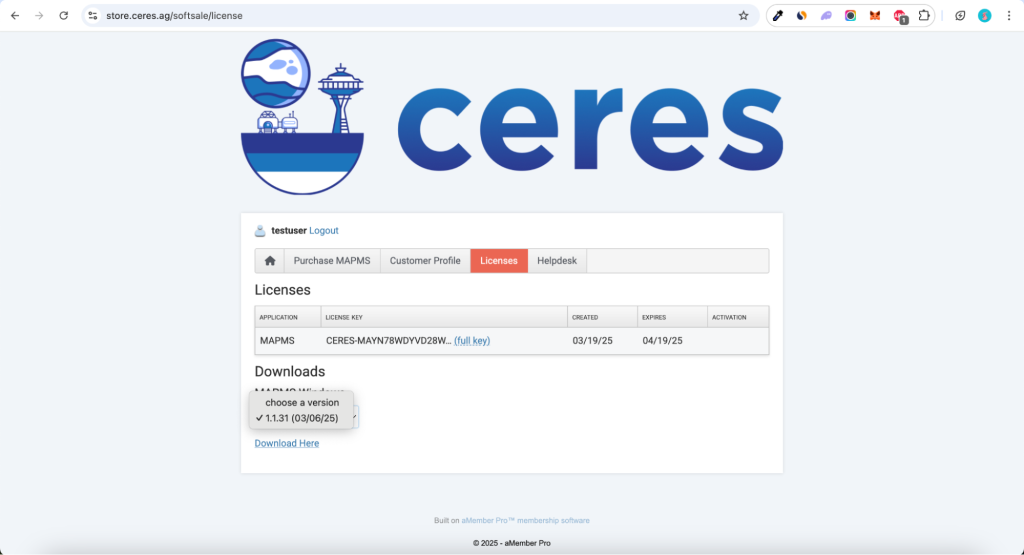
As you come to the licences page, click on the full key and copy the your key which will be used later in logging in.
Then, choose the software version you want to download and click on download here, so it will start downloading the windows application
Once the download has finished, open the application and complete the installation process.
As you finish the installation, you will reach this screen (shown below). Enter your license key here which you have copied from licenses page in previous step and then, click on submit button
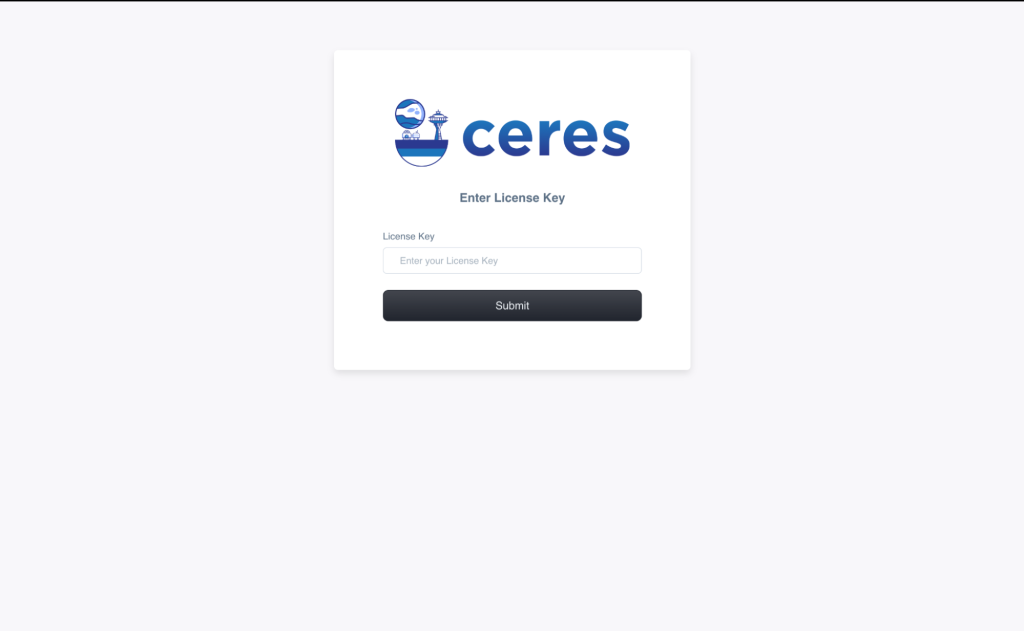
If you have entered correct license key, then you will be able to see LP Manager screen (shown below)
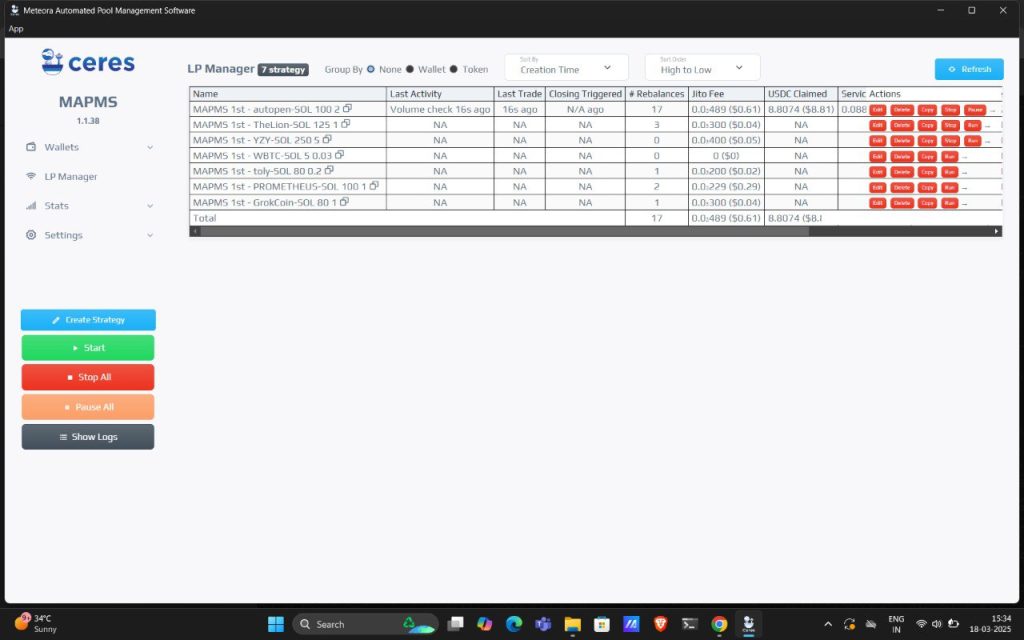
If your account is fresh, you won’t see any strategy in the LP Manager screen.
To run your strategies, you need to have wallets which will be used for auto-rebalancing transactions. You can follow below process to set up your wallets
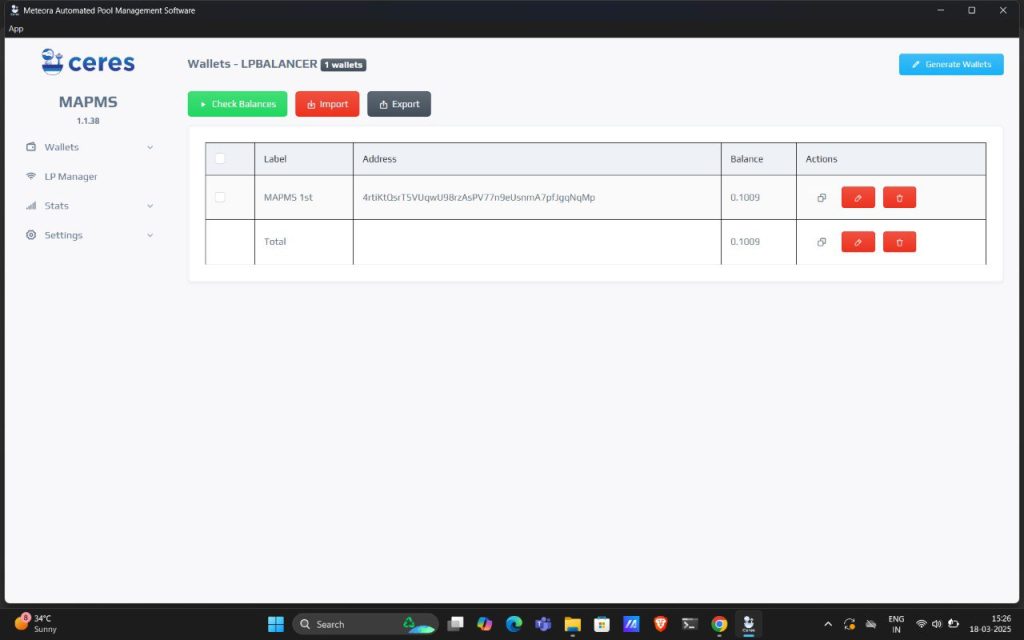
Go to the wallets page from the side menu. It will show your all wallets (either imported or generated) here. You can see their balances, copy address, edit label and delete wallet from actions.
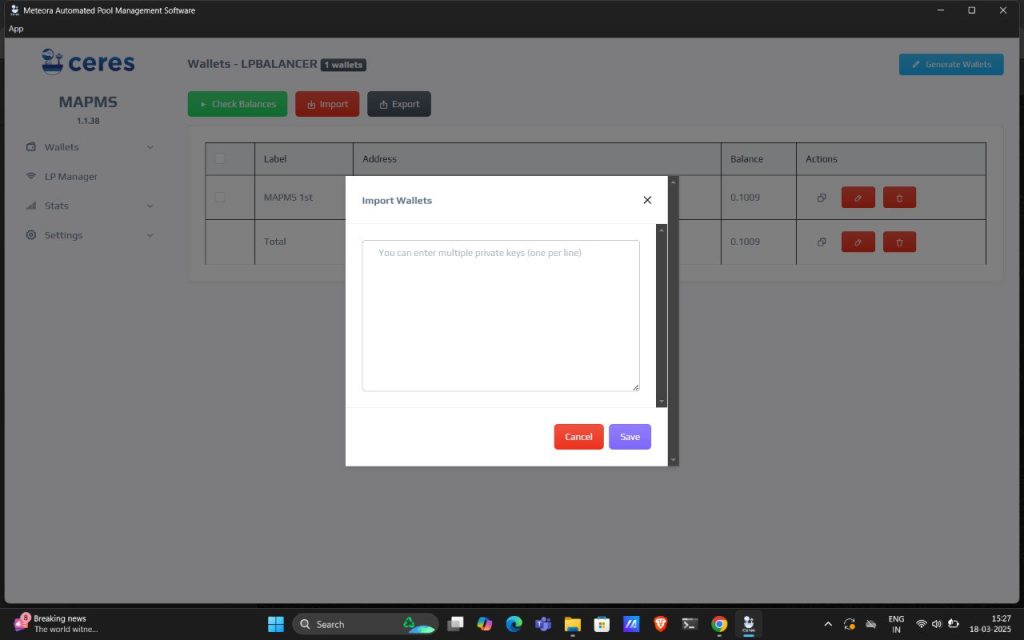
If you already have wallet(s) and you want to use that wallet here. Click on import (red button), you will see the popup (shown below). Enter private keys of all wallets (one per line) here which you want to import and then, click on save. If those are genuine private keys, they will show up here in the wallets page.
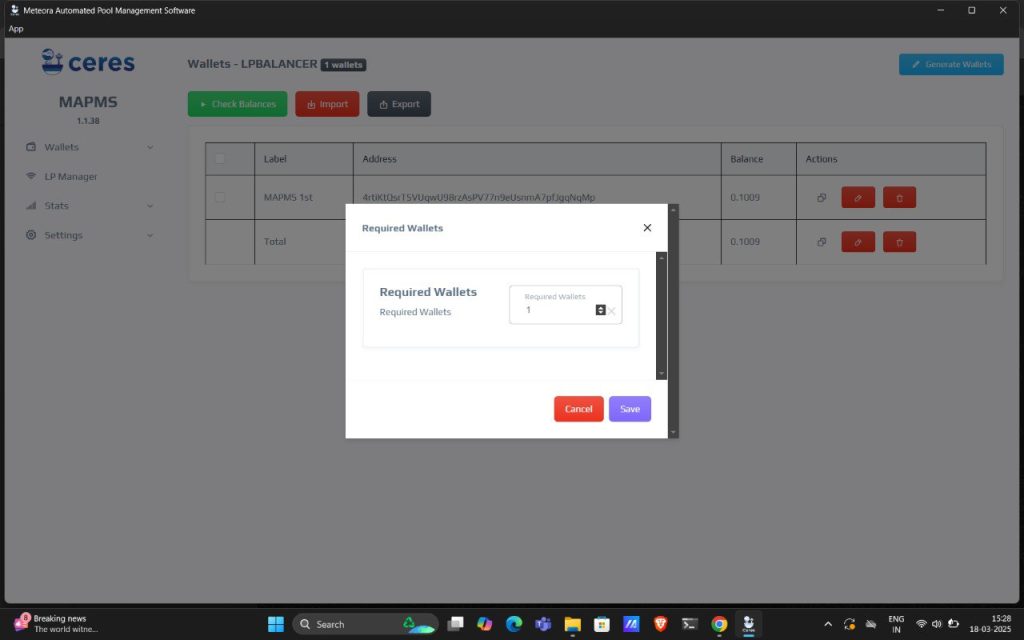
If you don’t want to use your existing wallets, and want to generate new wallet(s) for this platform. Then, click on generate wallets (blue button top right corner), it will open a popup (shown below). Enter the no. of wallets you want to generate in the required wallets field and then, click on save. It will create that no. of wallets for you which will show up here in the wallets page.
If you want to use this wallet(s) outside the platform, you can export their keys by clicking on export (black button)
To run your strategies, you need to set up an RPC endpoint. You can follow the below process to set up your RPC.
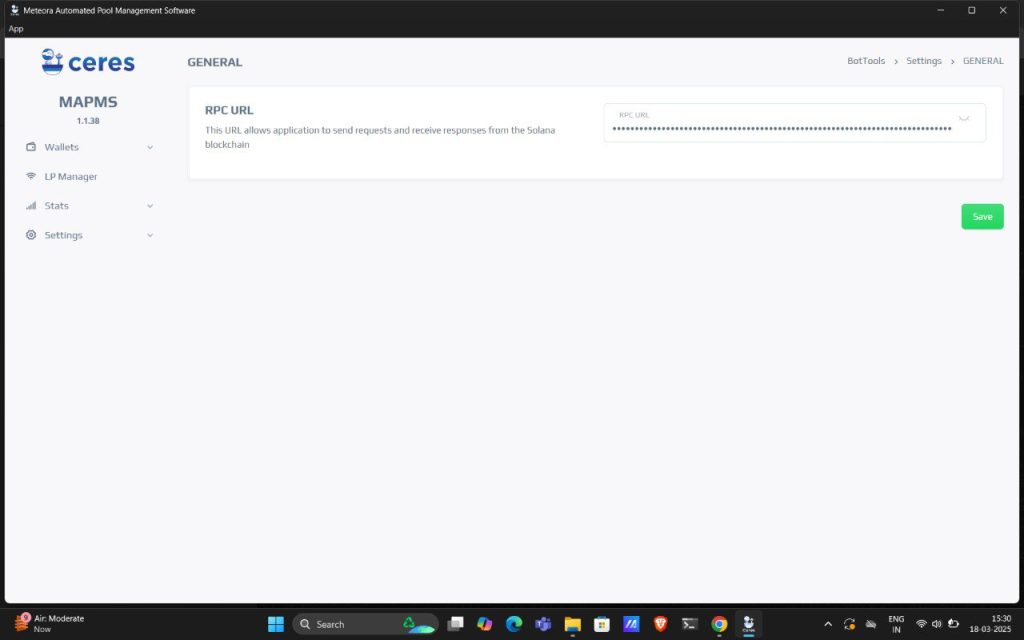
Go to the general tab from settings in the side menu. You will see this screen (shown below). Enter your RPC url here and click on save
Recommended RPC : We recommend Helius Developer plan which should be good enough for less than 10 active positions (https://www.helius.dev/pricing)
If you don’t want to use your existing wallets, and want to generate new wallet(s) for this platform. Then, click on generate wallets (blue button top right corner), it will open a popup (shown below). Enter the no. of wallets you want to generate in the required wallets field and then, click on save. It will create that no. of wallets for you which will show up here in the wallets page.
Go to the LP Manager tab from settings in the side menu. You will see this screen (shown below).
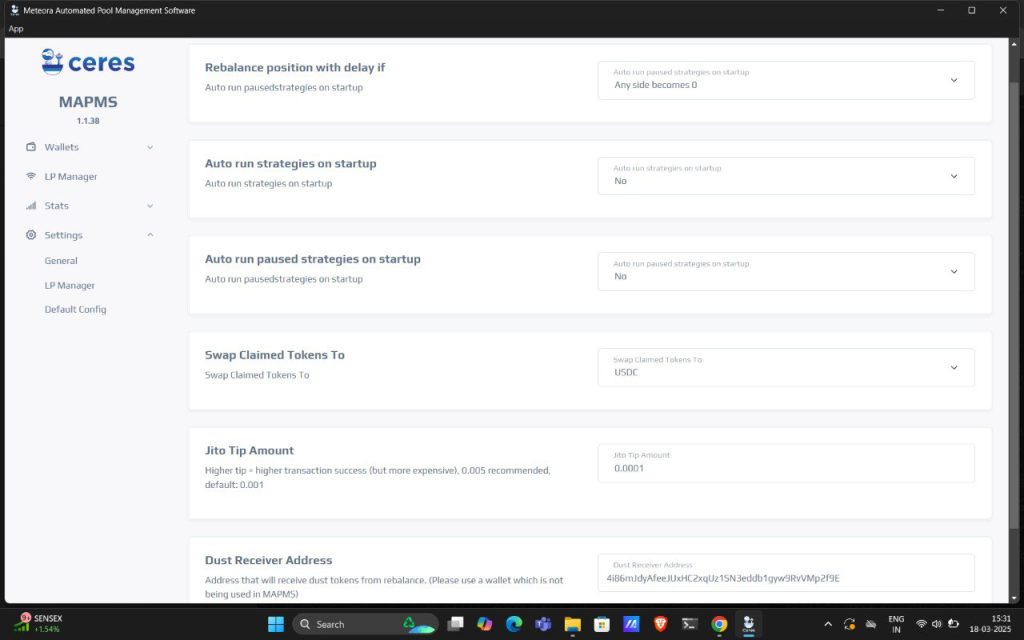
These are the default settings for all the strategies you will create. You can change this default setting as per your preferences.
Here, you need to enter your dust receiver address where you will receive unused tokens. (ex. Dust from swap). Make sure you add a dust wallet which is not being used in MAPMS.
Go to the Default Config tab from settings in the side menu. You will see this screen (shown below). This is the optional step in the platform set up process.
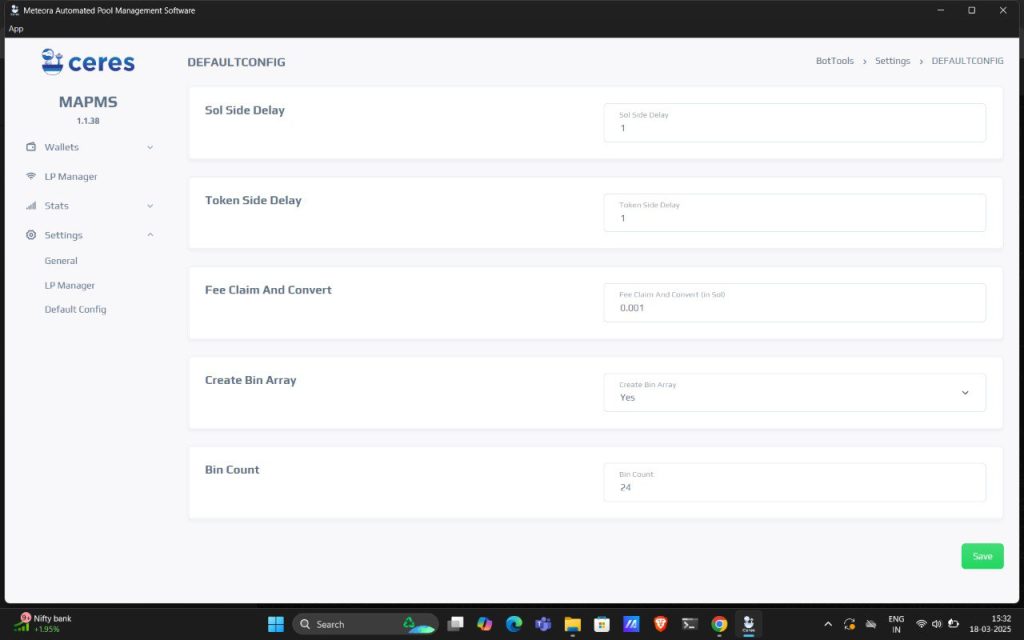
These are the default settings for all the strategies you will create. You can change this default setting as per your preferences.
All the platform set up is done if you have followed previous steps correctly. Now, let’s create a strategy. To create & run your strategies, follow the steps given below
Go to the LP Manager page in the side menu, click on create strategy (blue button) in side menu. You will see this pop up (shown below)
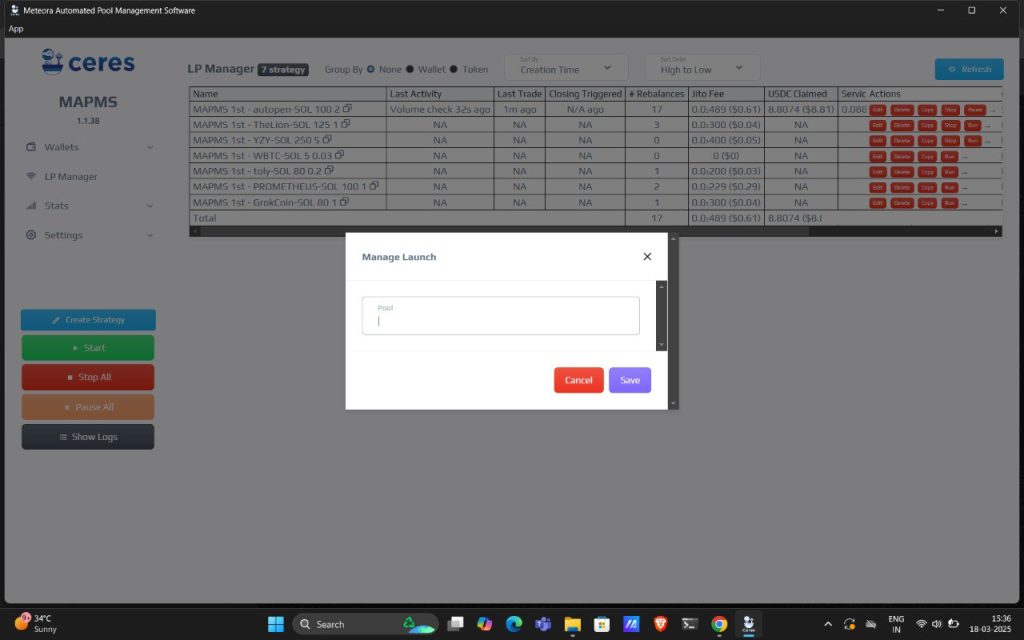
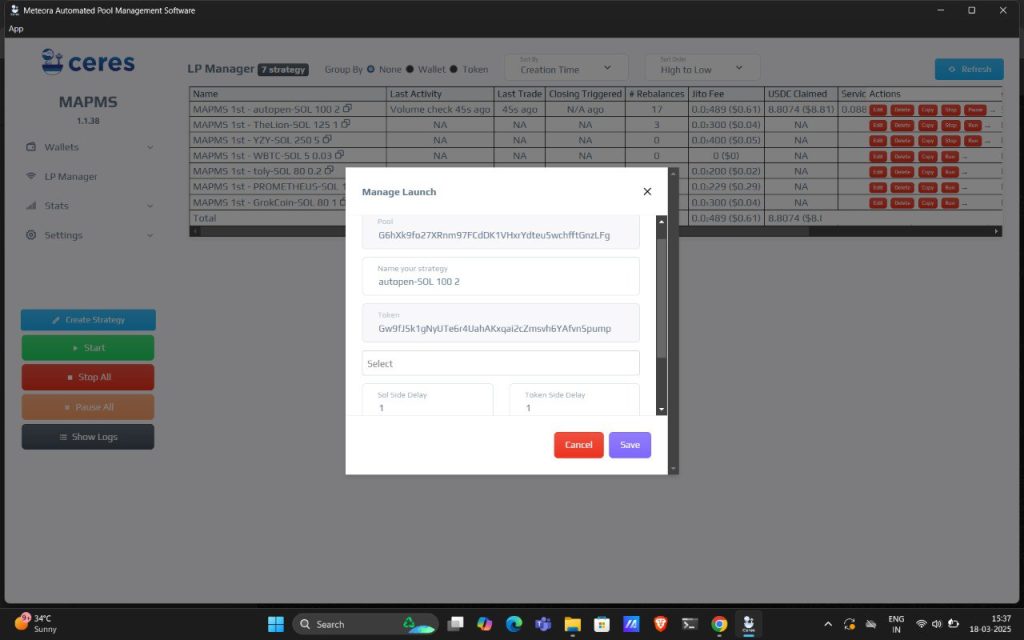
Copy the pool address from meteora in which you have opened the position. Paste that pool address here. If the pool address is genuine, it will get pool details automatically. You can verify the details once.
Then, select a wallet which you want to use for auto-rebalancing this LP. Enter other details like delay and claim fee for this strategy. Then, click on save
If all the required details of a strategy is correct, it will show up here in the LP Manager screen.
Now, click on the run button to run (start) your strategy. If it starts running, status will be changed to running. You can scroll right and see the status and other details of that strategy. (shown below)
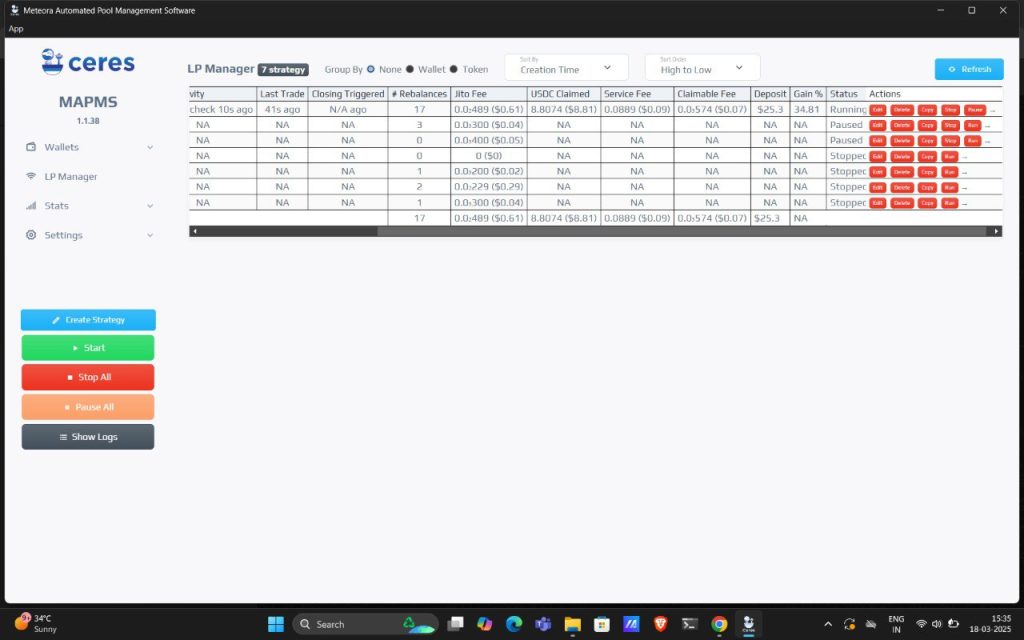
You can edit, delete, run, pause and stop strategy from the actions column.
You can use group by wallet, token and sort by filters to change your dashboard view of strategies
About Liquidity Pool Position:
A Liquidity Pool (LP) Position refers to a user’s share in a liquidity pool within a decentralized finance (DeFi) protocol. When a user provides assets to a liquidity pool (such as Uniswap, Curve, or Meteora), they receive liquidity provider (LP) tokens representing their proportional ownership in the pool.
Need for the MAPMS software!
Once you’ve added liquidity on Meteora and created a strategy on MAPMS, the software continuously monitors your position 24/7. If the LP goes out of range, MAPMS will automatically create a new position, ensuring your LP stays within the yield range and continues to earn fees. Managing LP positions manually is time-consuming and requires constant monitoring. MAPMS simplifies this by managing multiple positions simultaneously while keeping private keys secure on your local machine without exposing them.
Where do I need to create LP positions
You need to create LP positions on Meteora. Currently, MAPMS supports only Solana-based LPs on Meteora.
Introduction
About Liquidity Pool Position:
A Liquidity Pool (LP) Position refers to a user’s share in a liquidity pool within a decentralized finance (DeFi) protocol. When a user provides assets to a liquidity pool (such as Uniswap, Curve, or Meteora), they receive liquidity provider (LP) tokens representing their proportional ownership in the pool.
Need for the MAPMS software!
Once you’ve added liquidity on Meteora and created a strategy on MAPMS, the software continuously monitors your position 24/7. If the LP goes out of range, MAPMS will automatically create a new position, ensuring your LP stays within the yield range and continues to earn fees. Managing LP positions manually is time-consuming and requires constant monitoring. MAPMS simplifies this by managing multiple positions simultaneously while keeping private keys secure on your local machine without exposing them.
Where do I need to create LP positions
You need to create LP positions on Meteora. Currently, MAPMS supports only Solana-based LPs on Meteora.
Installation :